
Step 1: grab a cute li'l helper and start on the porch. Here's the frame & the floor.


Step 2: Select your location. Pay special attention---it matters!


Step 4: Add siding & rafters


Step 5: Take a break and wonder why you aren't building an art studio for all this effort.

Step 6: Paint, build exterior nestboxes and doors


Step 7: Enlist husband to shingle the roof. Do not attempt to tickle his leg while he's up on the ladder--he won't think it's funny.

still not funny...

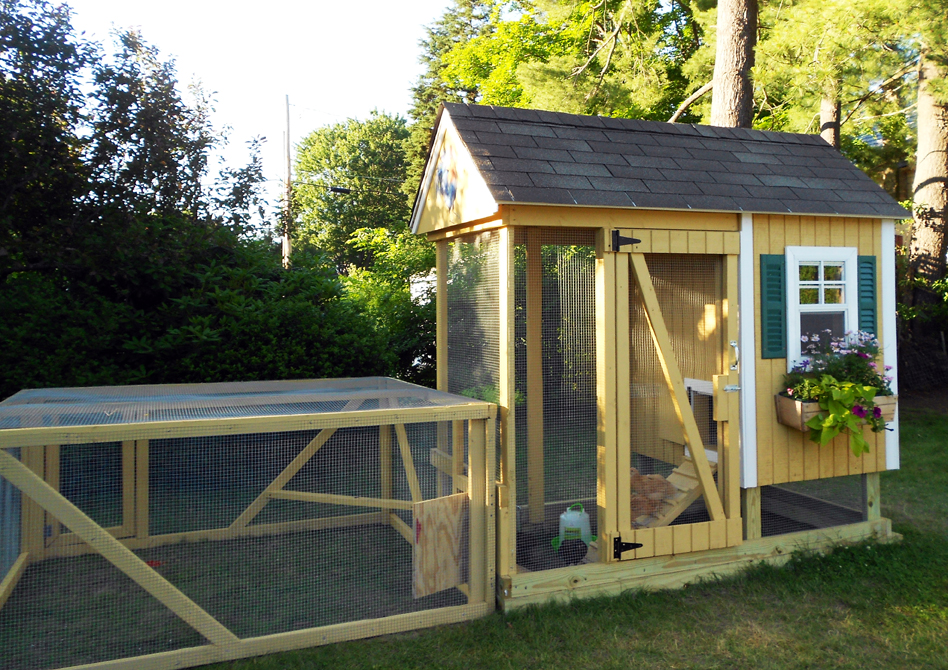
Step 8: Add trim & shutters. Frankly, the chickens won't care but you'll get points from the neighbors

Step 9: Add hardware cloth, chicken door & ramp. Watch the pitch on the ramp--you want the chooks to elegantly saunter out of their house not tumble together in a feathery pile.

Step 10: Paint rooster to watch over the hens. Only 2-D rooster allowed (see step 8 about keeping neighbors happy)

Step 11: Install chickens and let the happiness begin!

We loosely used the "All in One" pattern in the book Building Chicken Coops for Dummies.
3 comments:
A most excellent step-by-step guide! Thanks for the tips on keeping neighbors and husbands happy ;-) The chicken coop is absolutely gorgeous.
thanks, Gabrielle! I have to say this is probably a guide on how my good husband keeps ME happy. He knew I had my heart set on a chicken cottage like no other and never complained. :-)
Wow! This is great! I'm planning to use this same design for my coop - so nice to see it in action. Question for you: I love the extended run. How did you connect it to the main structure? I see a little door, but did you create an opening in the main structure fence? Thank you so much!
Callie
Post a Comment